Step 2 - Creating a Player#
Welcome to the second part of making a platformer in rubato. In this step, we will be building a simple animated character.
At this point, you should have a white window with a resolution of 1920 by 1080 pixels.
Before we continue, we first need to understand the rubato heirarchy (we'll explain it first, then walk you through it). rubato has 4 levels of structure, in order: Scenes, Groups, Game Objects, and Components.
Scenes hold two premade Groups. One for menu items (the UI) and
one for the main Game Objects. It also manages a Camera.
Scenes are used to separate different sections of a game. For example, you could have each game
level in a different scene. To move between levels, you would simply switch scenes.
Groups are the next layer down. They can hold either Game Objects or other Groups.
Their main purpose is divide different "groups" of items (hence the name!). For example,
items in two different groups won't automatically collide with each other, but items sharing a Group will.
We won't be making any new Groups in this tutorial because their functionality isn't necessary for the platformer.
Game Objects are the main objects in a game.
They have a position and z-index, and represent a "thing", such as a player, an enemy, or a platform. Their behavior is almost entirely
determined by the Components that are assigned to them.
Components are lightweight "modules" that add to the behavior of a Game Object.
For example, an Image component draws an image from your
filesystem at the Game Object's position. A RigidBody component registers the Game Object
into the built-in physics engine. A Hitbox component gives
a Game Object shape and enables collision.
If this explanation was confusing, hopefully it'll make more sense seeing the system in action. We'll start by making a scene:
 3# initialize a new game
 4rb.init(
 5    name="Platformer Demo",  # Set a name
 6    res=(1920, 1080),  # Set the window resolution (in pixels).
 7    fullscreen=True,  # Set the window to be fullscreen
 8)
 9
10main = rb.Scene(background_color=rb.Color.cyan.lighter())
11
12# begin the game
13rb.begin()
Here we introduce the Color class. Colors
are stored in RGBA format but can be loaded from HSV and HEX. The class comes
preloaded with pastel-inspired default colors as
well as several methods to mix and manipulate them. In the code above, we use lighter()
to lighten the shade a little.
Note that we did not have to actually add our scene to the game after creating it. That's because it happens automatically every time a scene is initialized!
Next, we need to create a player and add it to the scene. Create a new file next to main.py called shared.py
and add the following code:
1import rubato as rb
2
3# Create the player and set its starting position
4player = rb.GameObject(
5    pos=rb.Display.center_left + rb.Vector(50, 0),
6    z_index=1,
7)
Here we're introducing a new class: rb.Vector.
A rubato Vector is an object that contains two numbers, x and y.
A Vector can represent a point, dimensions, a mathematical vector, or anything else that has x and y
parameters. The Vector class comes loaded with
many useful transformation functions and lets you utilize intuitive operators like + as shown above to do quick vector math.
Note
rubato uses the cartesian coordinate system, where the origin is in the center of the screen and positive y is up.
rb.Display.center_left is just the Vector position for the center of the
left side of the screen (i.e. y = 0, x = -screen resolution / 2).
Now in the main file we need to import shared.py and add it to the scene (above the call to begin()):
Note
You need to import the shared file after having called the rubato init method, so that you can use rubato functions in shared.
10import shared
11
12main = rb.Scene(background_color=rb.Color.cyan.lighter())
13
14# Add the player to the scene
15main.add(shared.player)
If we ran this now, we won't see our player. That's because Game Objects don't draw anything by themselves. Let's change that by adding a simple Animation to the player.
You will see a few image files inside the files/dino directory. Each of these image
files is a spritesheet for a single animation. Instead of loading each frame and image ourselves, we can use
rb.Spritesheet.from_folder() to load them
all at once. This function takes the path to a folder and returns an
Animation component that can then be added to a GameObject.
Our spritesheets have a couple of frames. Each frame is 24 pixels by 24 pixels. Be sure to specify the sprite size when you load them. This will let rubato correctly subdivide the spritesheet into frames.
Animations are made up of different states which we'll be able to switch between. When loading from a folder, the state names are the names of the files. Some states we have in our example are idle, jump, crouch, and run.
We also should specify the default state. This is the state that the animation will start at and the one that it will return to when other states finish. In our case, this will be the idle state.
 3# Create the player and set its starting position
 4player = rb.GameObject(
 5    pos=rb.Display.center_left + rb.Vector(50, 0),
 6    z_index=1,
 7)
 8
 9# Create animation and initialize states
10p_animation = rb.Spritesheet.from_folder(
11    path="files/dino",
12    sprite_size=rb.Vector(24, 24),
13    default_state="idle",
14)
15p_animation.scale = rb.Vector(4, 4)
16p_animation.fps = 10  # The frames will change 10 times a second
17player.add(p_animation)  # Add the animation component to the player
Now you should have a cute dinosaur bobbing up and down on the left side of the screen:
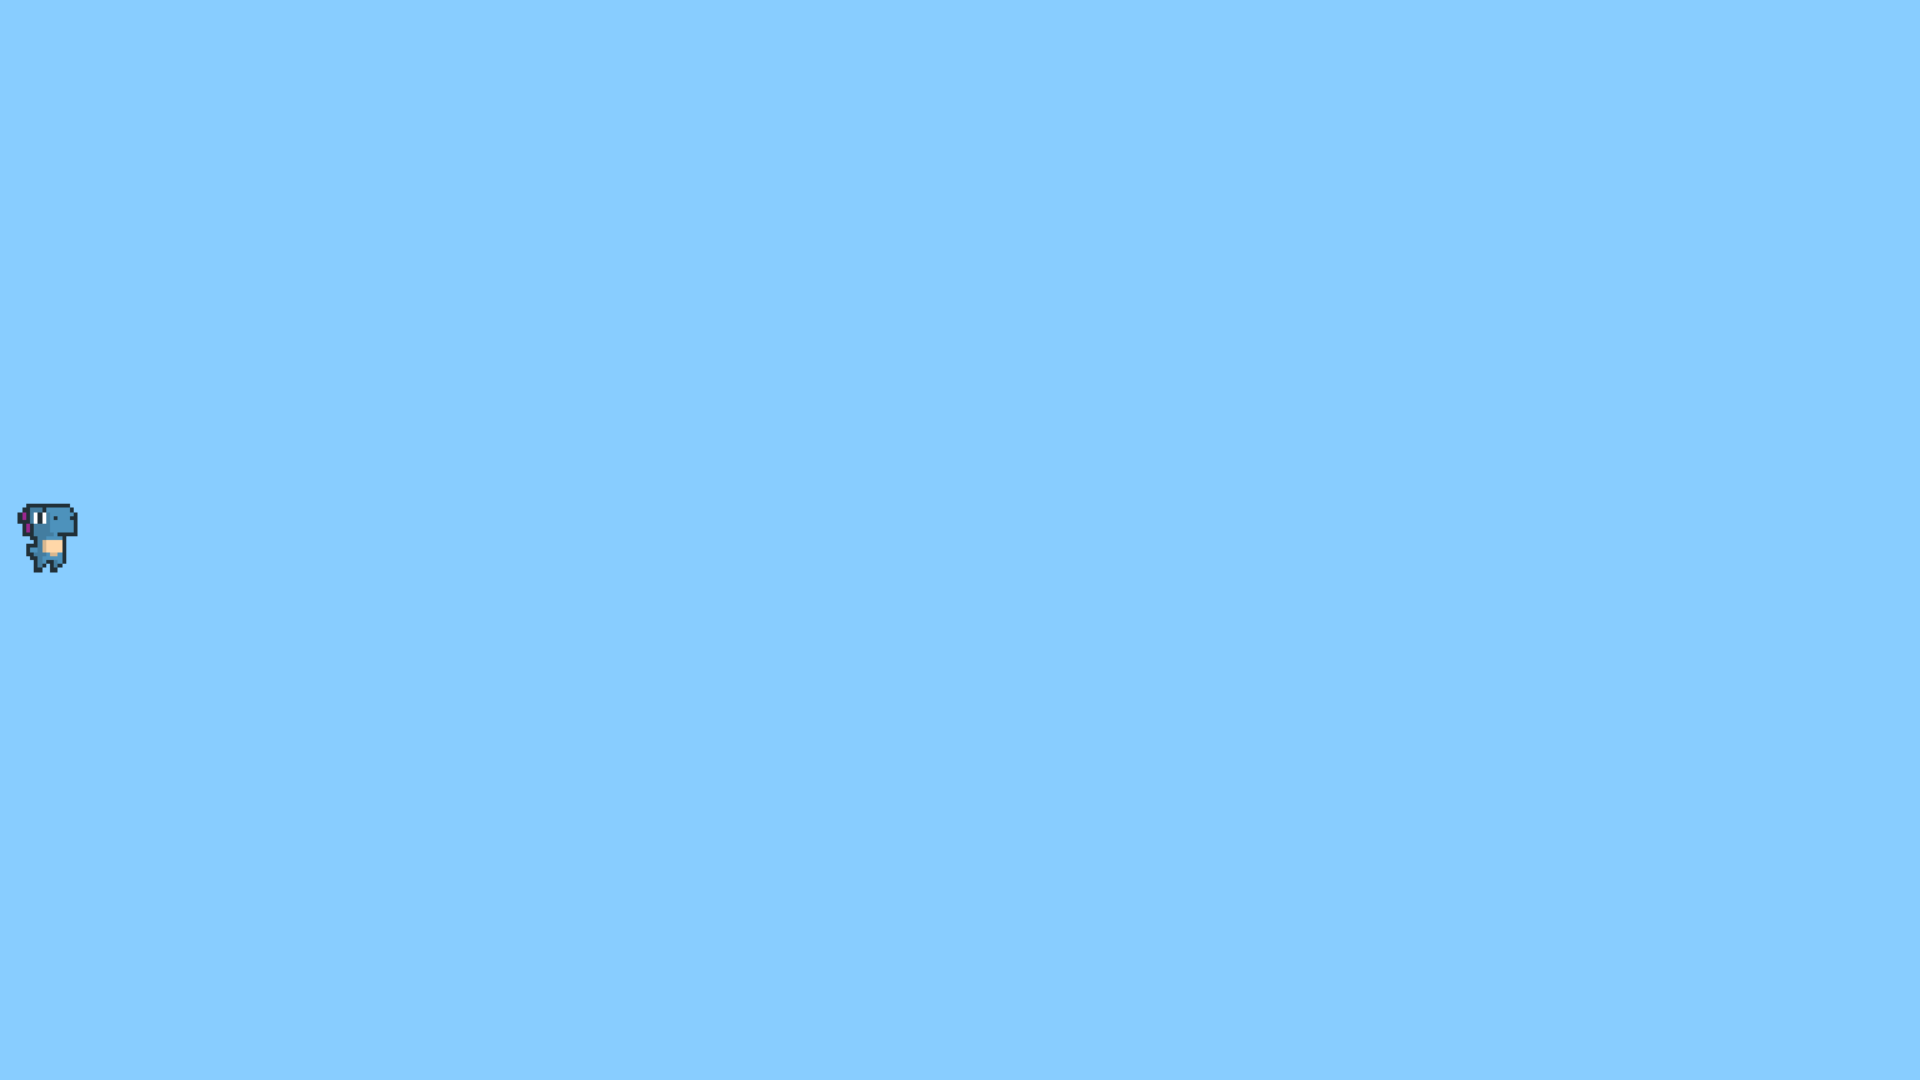
Adorable :)
Here is what you should have so far if you've been following along (cleaned up a bit):
 1import rubato as rb
 2
 3# initialize a new game
 4rb.init(
 5    name="Platformer Demo",  # Set a name
 6    res=(1920, 1080),  # Set the window resolution (in pixels).
 7    fullscreen=True,  # Set the window to be fullscreen
 8)
 9
10import shared
11
12main = rb.Scene(background_color=rb.Color.cyan.lighter())
13
14# Add the player to the scene
15main.add(shared.player)
16
17# begin the game
18rb.begin()
 1import rubato as rb
 2
 3# Create the player and set its starting position
 4player = rb.GameObject(
 5    pos=rb.Display.center_left + rb.Vector(50, 0),
 6    z_index=1,
 7)
 8
 9# Create animation and initialize states
10p_animation = rb.Spritesheet.from_folder(
11    path="files/dino",
12    sprite_size=rb.Vector(24, 24),
13    default_state="idle",
14)
15p_animation.scale = rb.Vector(4, 4)
16p_animation.fps = 10  # The frames will change 10 times a second
17player.add(p_animation)  # Add the animation component to the player